Nighttime Photography Awards
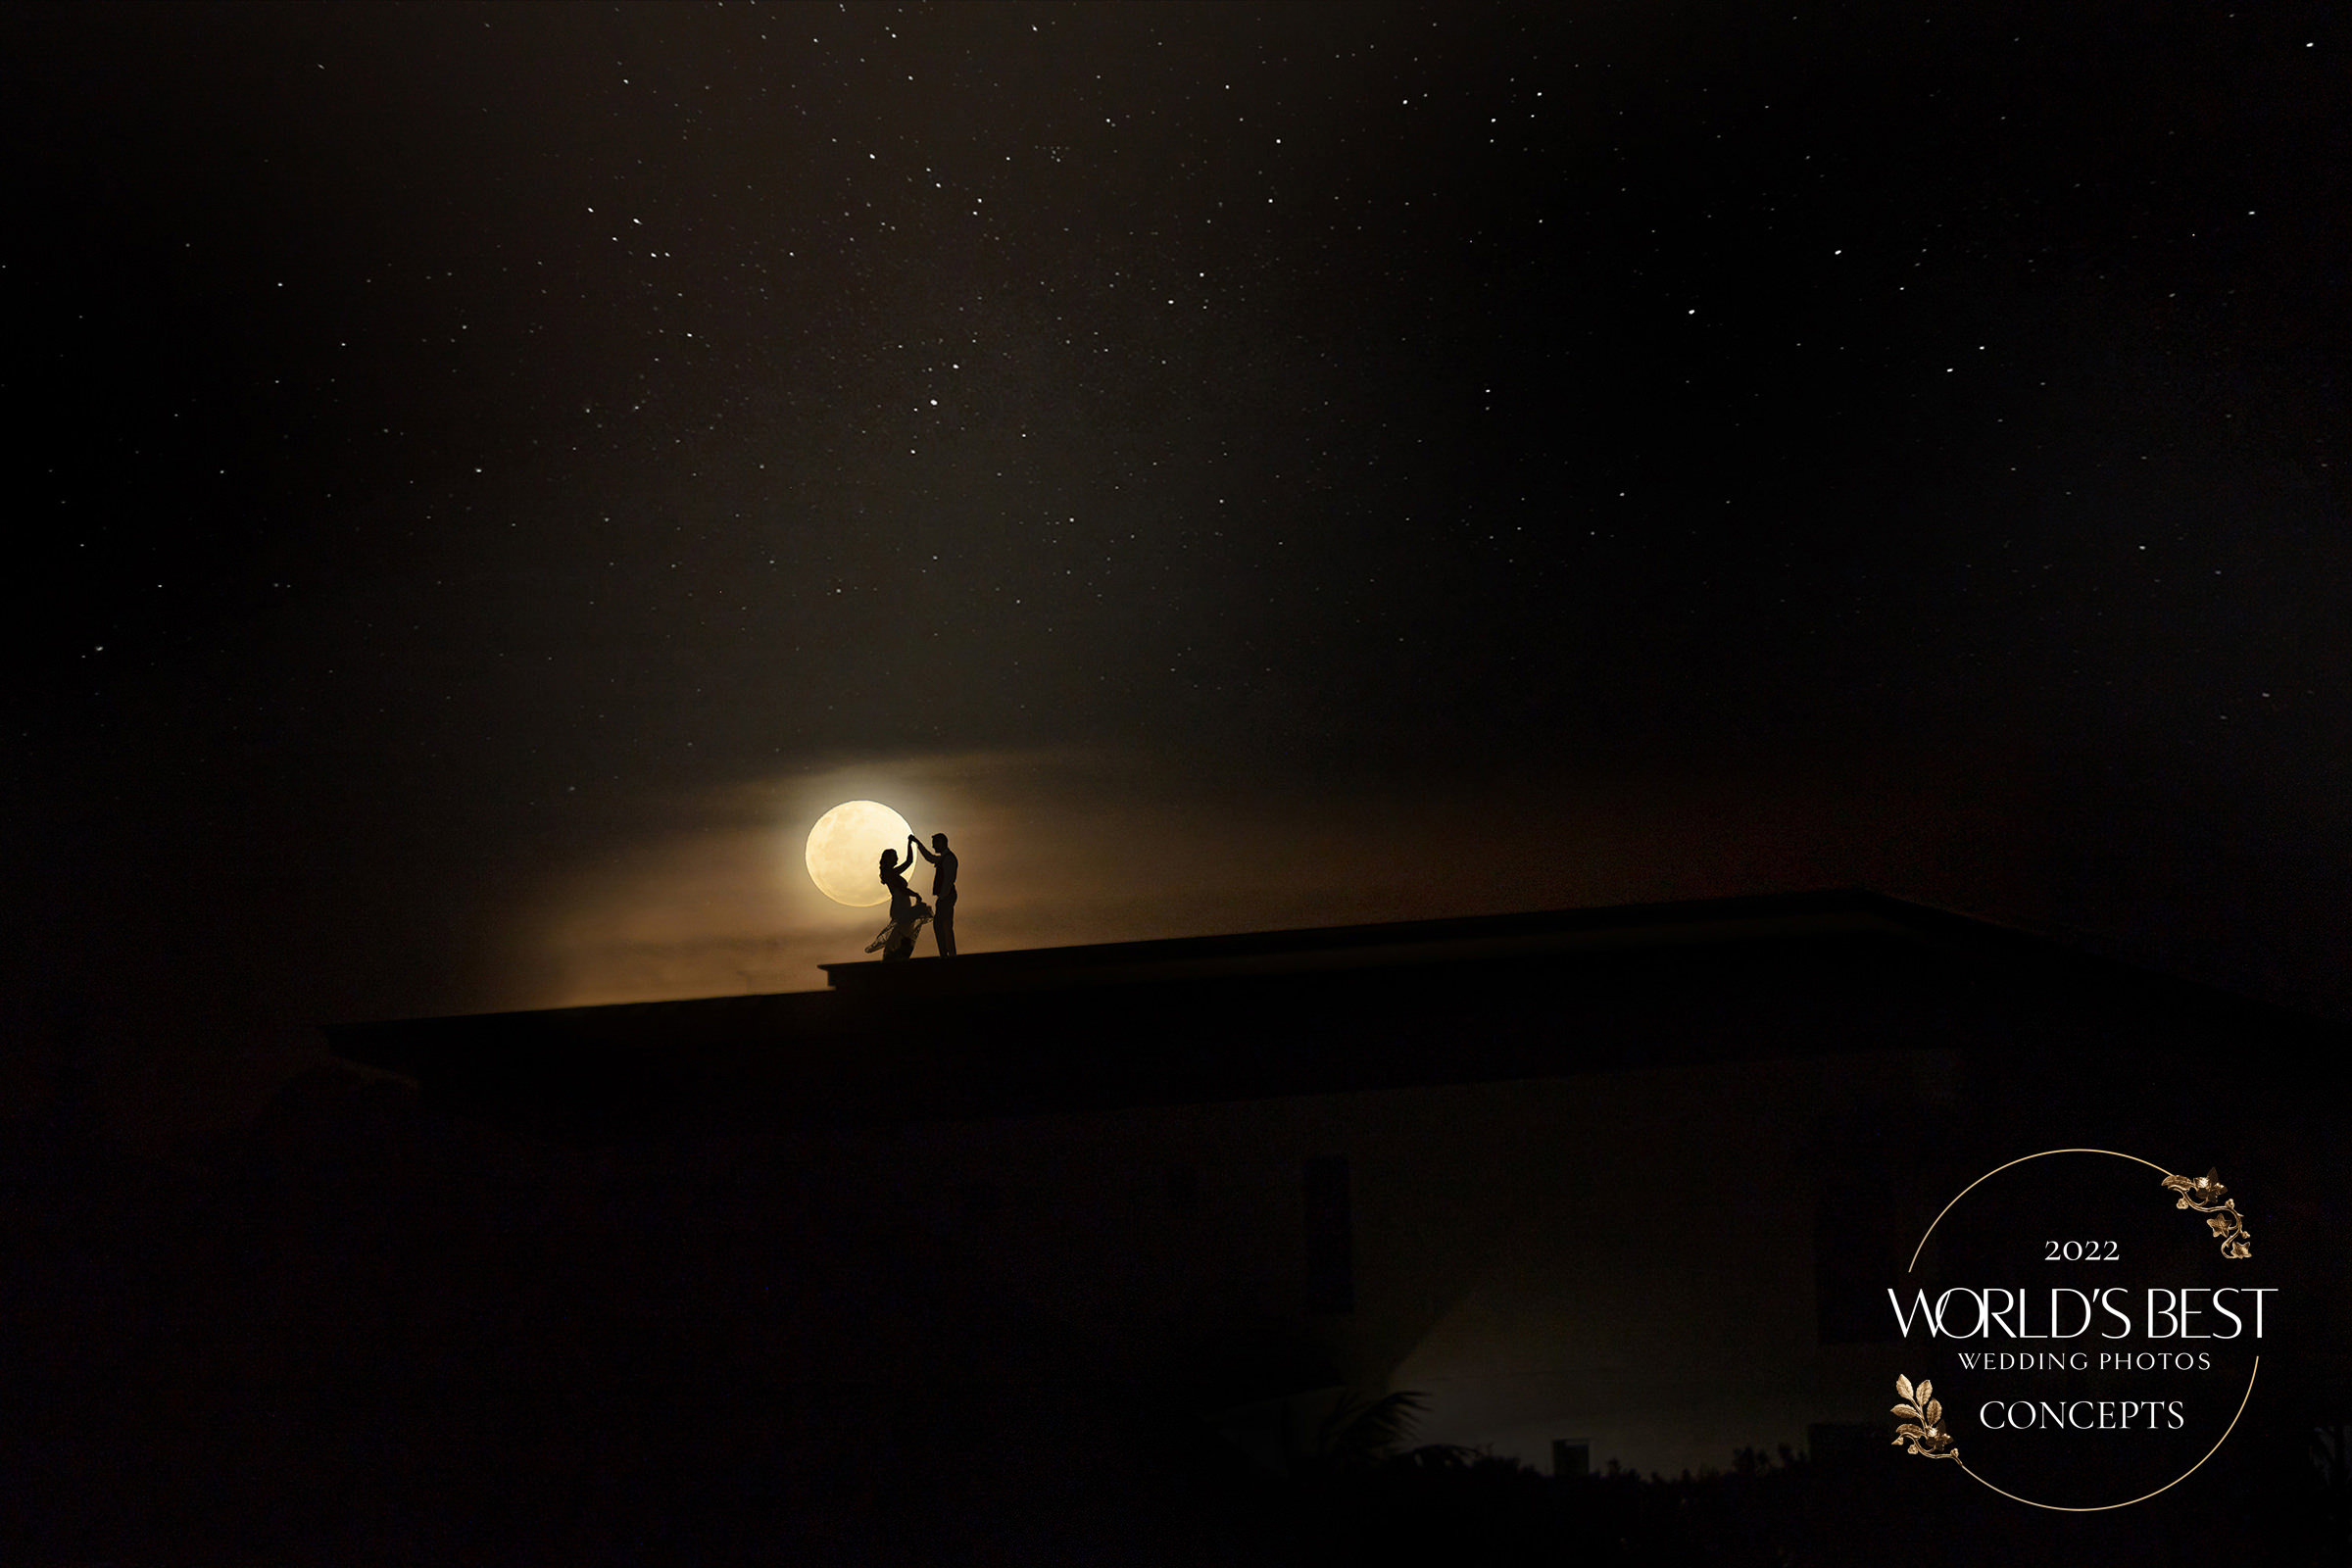
Few wedding photos are as impressive as those that capture the moon, stars, or blackness of the night. And it takes serious skill along with the right equipment, a whole lot of talent, and a little bit of luck to get shots as stunning as the ones found below.
Scroll down to see our top ten award winners in the category of Night Photography taken by our amazing members and find out how they capture the sky long after the sun has set. If you love photography, you may want to give it a try the next time the stars align.
Here are the basics, followed by 5 tips from photography educators, Jesse and Moira La Plante, on how to get stellar photography.
The Basics of AstroPhotography
- Professional photographers use tripods to create the stability necessary to capture photos at night. To stop the photo from being blurry a camera needs to be absolutely still. You can use your phone for this, but much better results can be created with a DSLR.
- To photograph constellations, most photographers will set their camera to manual mode and choose a low ISO value (100 or 200). This will help reduce noise in their photos.
- Then, they will set their aperture to f/2.8 or lower, which will allow more light to enter the camera and will help you capture the stars more clearly.
- The speed of the camera is generally set to 10 seconds or longer. To bring in constellations like the Milky Way the exposure can be up to a minute or even hours.
- Off camera flash may be used to light the subjects
- Silhouettes can be created by positioning the subject in front of the moon.
5 Tips to Take Your Night Shots to a New Level
Get away from light pollution.
There are two types of light pollution that affect astrophotography: local and global. Local light pollution comes from wedding venues, street lights, and the headlights of passing cars. This type of light pollution is easy to get away from. You simply walk away from buildings, parking lots, and roads. Global light pollution is a little trickier. It’s the light around major population centers. If you’re shooting a wedding on the Las Vegas strip, you’re probably not going to be able to take a photo of the Milky Way without driving for at least an hour. We recommend using Dark Site Finder to see a light pollution map of your area.
- Start just with the stars.
Before you try to take a photo of your subject under the night sky, start with a photo of just the sky. Put your camera on a tripod, focus on something in the distance, and dial your settings to around 10 seconds, f/2.8, ISO 25000. Your final settings will vary drastically depending on light pollution, but for most locations this should be a good starting point. Press the shutter release and see what you get! Can you see the stars clearly? Is your frame too bright? Not bright enough? Make adjustments accordingly until you’re happy with the result. Are the stars in focus? If not, move on to tip #3.
- Use your live view option to focus.
If you want the stars to be tack-sharp, here’s what we recommend. Switching your camera to live view, digitally zoom in on the brightest star or planet in the sky. Now switch your camera to manual focus and, ever-so-slowly, twist your focus ring until the brightest star/planet appears to be in focus. Now release the shutter. Are the stars in focus? If so, nice job! If not, no worries. Try this instead: Twist your focus ring all the way around until you see the infinity symbol ∞. Now take the photo. In focus? If still not, twist your focus ring just a tiny bit away from the infinity symbol. Take another shot. If still not in focus, twist it a tiny bit more, and so on, until you achieve perfect focus.
- Incorporate the human element.
Now that you’ve successfully taken a photo of the night sky, let’s turn to making a portrait! Bring your subject(s) into the frame and focus on them. (If you focus on the stars for a portrait, your subjects will be out of focus.) Now, here’s the tricky part. If there’s even a bit of ambient light falling onto your subjects, they’ll have to hold totally still for the entirety of the exposure. This can be tricky, especially if you’re shooting at the end of the reception after the couple has been drinking all day. If there’s no ambient light whatsoever, your job will be a lot easier. The couple can move around all they want and you can easily freeze them with a pop of a flash at any point during the exposure.
- Have fun and break the rules!
As Pablo Picasso famously said, “Learn the rules like a pro so you can break them like an artist.” Once you get a few astro-portraits under your belt and you’re happy with your results, why not try to shake things up a bit? Instead of trying to eliminate light pollution, see if you can use it to light your subjects. Instead of instructing your couple to hold still, ask them to move around and see what sort of blurred effect you can achieve. Or try focusing on the stars instead of on your subjects. Who knows? It might end up being your new favorite image. One thing we know for sure is that if we all follow the same rules all the time, all our work is going to look much the same. It’s your imperfections that will (paradoxically) make you stand out from the crowd. So feel free to experiment!
If you’re getting married and want award worthy photos at night and all day long, turn to our highly-vetted wedding photographers directory.


